Guides

How to Erase Your Photos Before Selling or Trading In Your iPhone

Mehmet Ali Kısacık · Developer of Secure Folder · July 18, 2026 · 7 min read

A top-down view of school supplies and tech gadgets on a desk, ideal for education themes.
Photo by olia danilevich on Pexels

Key takeaways

  • Erasing an iPhone with "Erase All Content and Settings" is a local wipe only, it does not remove any photo already synced to iCloud Photos from your Apple Account or your other signed-in devices.
  • Deleting a photo from Photos (or from icloud.com/photos) syncs that deletion across every device signed into the same Apple Account, but the photo still lives in Recently Deleted for 30 days unless you empty that album manually.
  • Turning off Find My before you erase matters because a phone still linked to your Apple Account through Find My can trigger Activation Lock and block the next owner from setting it up.
  • The two steps are genuinely separate: erasing clears the device itself, while deleting from iCloud (and then emptying Recently Deleted) is what actually removes the content from Apple's servers.
  • Photos moved into Secure Folder's vault are never part of iCloud Photos sync in the first place, so there's no separate iCloud cleanup step to remember for anything already in the vault.
  • If you erase a device with a Secure Folder vault on it, the vault content is erased along with everything else on-device, with no cloud copy to track down afterward.

Selling or trading in an iPhone usually comes down to one worry: did your photos actually leave the device, or are they just hidden from the home screen while still sitting on the phone (or in your iCloud account) waiting to be pulled back out?

Step 1: Back up first, erase second

The short answer is that Apple's own "Erase All Content and Settings" tool removes your photo library from the device itself, but it does not touch anything already synced to iCloud Photos. If you skip that distinction, you can hand over a "wiped" phone while your full photo library is still recoverable from your Apple Account elsewhere. Here's how to do it correctly, in order.

Before you erase anything, back up the iPhone (Apple's guidance is to do this via iCloud or Finder/iTunes so you can restore to a new device with the setup assistant). This matters even if you think you've already moved everything: it's your safety net if the erase happens before you've confirmed every photo is where you expect it.

Step 2: Confirm your photos are actually synced to iCloud (if you want to keep them)

If iCloud Photos is turned on, open the Photos app and scroll to the bottom of the Library view. A recent "Updated just now" timestamp means your library is fully synced to your Apple Account. If it says "Uploading X items," wait for that to finish. Photos that exist only on the device (iCloud Photos off, or items not yet uploaded) will be permanently deleted the moment you erase, with no cloud copy to fall back on.

Step 3: Delete the photos you don't want anyone to see, from iCloud too

This is the step people skip, and it's the one that actually matters for privacy. Erasing the iPhone clears the device, but your content does not delete from iCloud when you erase the device. If sensitive photos are synced to iCloud Photos, they remain in your Apple Account and on any other device signed into it, fully intact, after the "wipe."

To actually get rid of specific photos everywhere:

  • On iPhone: open Photos, select the photo or video, tap the trash icon, then tap Delete Photo. Because iCloud Photos syncs deletions across devices, this removes it from every device signed into that Apple Account too.
  • On the web: go to icloud.com/photos, sign in, select the items, and choose Delete.

Either way, empty Recently Deleted too

Deleted photos land in Recently Deleted for 30 days before they're permanently removed, so if you want them gone for good before handing over the phone, empty that album manually rather than waiting out the 30 days.

Step 4: Sign out of iCloud and remove the device

Go to Settings, tap your name, scroll down, and tap Sign Out. Enter your Apple Account password, then tap Turn Off. If you use Find My, make sure it's turned off here too, since a phone still linked to your Apple Account through Find My can trigger Activation Lock for the next owner and block setup entirely.

If you had an Apple Watch paired to this iPhone, unpair it before you go further.

Step 5: Erase All Content and Settings

With accounts signed out, open Settings, tap General, scroll to the bottom, and tap Transfer or Reset iPhone, then tap Erase All Content and Settings. Confirm with your passcode or Apple Account password when prompted. This removes your photos, contacts, messages, apps, saved Apple Pay cards, and settings from the device, and turns off iCloud, iMessage, FaceTime, and Game Center on it.

Why "erase" and "delete from iCloud" are two separate jobs

It's worth restating this plainly because it's the most common mistake in this whole process: erasing the device is a local wipe. Deleting from iCloud (and then emptying Recently Deleted) is what actually removes the content from Apple's servers and any other device tied to your account. Skipping the second step doesn't put a buyer's device at risk exactly, since the erased iPhone itself has nothing on it, but it does mean the private photos you thought you got rid of are still sitting in your own account. If your goal was to actually be rid of certain images rather than just clear the phone you're handing over, the iCloud deletion step is the one that matters.

If you'd rather never have sensitive photos in the general library at all

The steps above are the right way to prepare any iPhone for resale. But they're also a reminder of how photo privacy works by default on iOS: anything you shoot goes into the same Photos library that iCloud syncs, gets included in "Erase All Content and Settings," and (unless you dig into Apple's Hidden album) shows up in your main photo grid the whole time you own the phone.

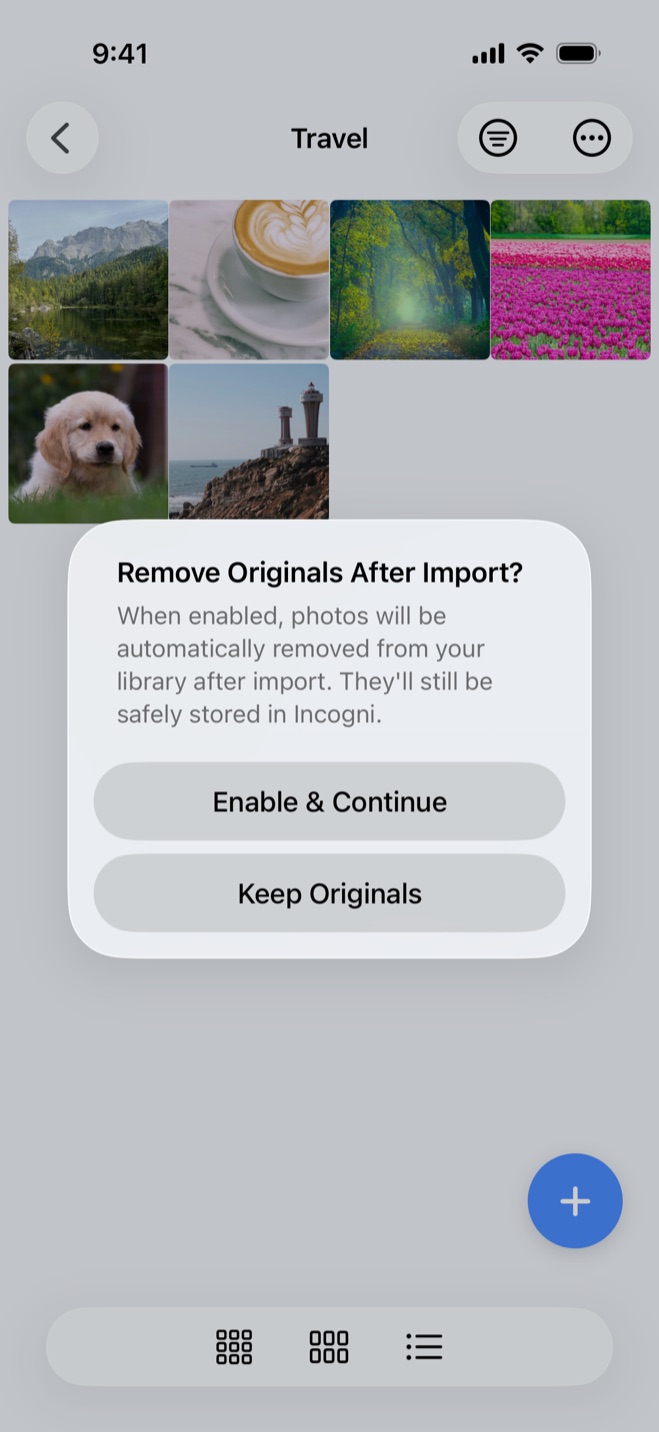
Secure Folder: Incogni Vault takes a different approach for photos you would rather keep separate from day one. Secure Folder moves selected photos, videos, files, and notes out of the Photos app entirely, into a hidden gallery locked with its own PIN or Face ID, separate from your phones regular passcode. Because that content never lives in the standard Photos library, it is not part of iCloud Photos sync and is not something you have to remember to separately delete from iCloud when the time comes to sell the phone. Your vault content stays on your device; the only thing Secure Folder ever sends out is anonymous usage analytics that contains nothing from inside the vault. If you ever do erase the device, whatever is in the vault is erased with it, on-device, with no separate cloud copy to track down afterward.

That is a workflow decision for photos going forward, though, not a substitute for the resale checklist above. For a phone you are selling today, back up what you want to keep, delete what you do not want lingering in iCloud, sign out, and then erase.

Quick checklist before you hand over the phone

Here's the whole process in order:

  • Back up the iPhone.
  • Confirm iCloud Photos shows "Updated just now" (or wait for uploads to finish).
  • Delete unwanted photos from Photos (or icloud.com/photos), then empty Recently Deleted.
  • Unpair any Apple Watch.
  • Turn off Find My and sign out of your Apple Account.
  • Settings > General > Transfer or Reset iPhone > Erase All Content and Settings.
  • Confirm the phone boots to the "Hello" setup screen, not your lock screen, before you hand it over.

Common questions

Does 'Erase All Content and Settings' delete my photos from iCloud too?

No. Erasing the device is a local wipe — it clears the phone itself but doesn't remove anything already synced to iCloud Photos. Those photos stay in your Apple Account and on any other device signed into it until you delete them separately.

How do I make sure sensitive photos are really gone before I sell my iPhone?

Delete them from Photos, or at icloud.com/photos, which syncs the deletion across your devices, then empty Recently Deleted so they don't linger for 30 days. Only after that should you run Erase All Content and Settings.

Should I back up before erasing?

Yes. Back up via iCloud or Finder/iTunes first. Anything that exists only on the phone and isn't synced to iCloud is gone permanently the moment you erase, with no cloud copy to fall back on.

Do I need to sign out of iCloud and turn off Find My before selling?

Yes. Sign out under Settings → your name → Sign Out, and make sure Find My is off. A phone still linked through Find My can trigger Activation Lock and block the next owner from setting it up.

How can I avoid the iCloud clean-up step next time?

Keep photos you'd rather not have in the general library out of it from the start. Secure Folder moves selected photos, videos, files, and notes into an on-device gallery that isn't part of iCloud Photos sync, so there's no separate cloud copy to track down when you sell — and it's erased with the device if you wipe it.

Keep your photos yours.

Secure Folder is free on the App Store — everything stays on your iPhone.

Get Secure Folder